Template Pages
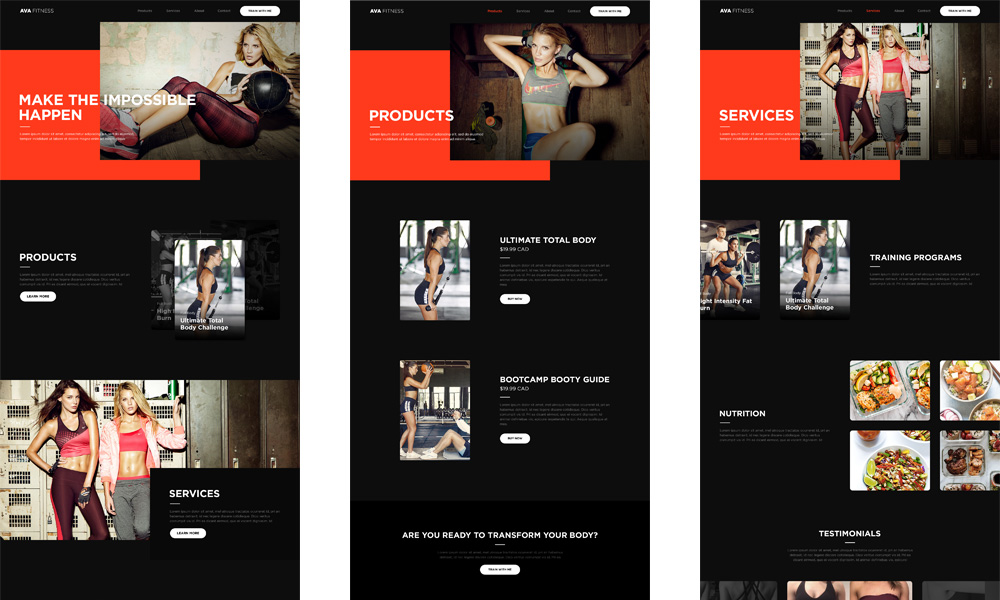
Ava is available in two theme styles, light and dark, and is bundled with several pre-built pages including,
- Home Page
- Products Page
- Services Page
- About Us Page
- Contact Us Page (Integrated into template pages)
- An Article Page
- Privacy Page
- 404 Page
Site Structure
Site structure for the site is as follows,
				├── about

				│   └── index.html

				├── css

				│   └── main.css

				├── img

				│   ├── 404.jpg

				│   ├── about-profile-1.jpg

				│   ├── about-profile-2.jpg

				│   ├── about-profile-3.jpg

				│   ├── about.jpg

				│   ├── contact.jpg

				│   ├── home-about.jpg

				│   ├── home-services.jpg

				│   ├── home.jpg

				│   ├── instafeed.jpg

				│   ├── logo.jpg

				│   ├── news.jpg

				│   ├── products.jpg

				│   ├── products-training-programs-1.jpg

				│   ├── products-training-programs-2.jpg

				│   ├── products-training-programs-3.jpg

				│   ├── services-nutrition.jpg

				│   ├── services-testimonial-0.jpg

				│   ├── services-testimonial-1.jpg

				│   ├── services-testimonial-2.jpg

				│   ├── services-training-programs-1.jpg

				│   ├── services-training-programs-2.jpg

				│   ├── services-training-programs-3.jpg

				│   └── services.jpg

				├── js

				│   ├── vendor

				│   │     ├── classie.js

				│   │     ├── fastclick.min.js

				│   │     ├── fs-multi-overlay.js

				│   │     ├── fullpage.min.js

				│   │     ├── glide.js

				│   │     ├── jquery.min.js

				│   │     ├── modernizr.min.js

				│   │     ├── pace.min.js

				│   │     ├── picturefill.min.js

				│   │     ├── smooth-scroll.js

				│   │     └── sticky.min.js

				│   └── foundation.min.js

				├── news

				│   └── index.html

				├── privacy

				│   └── index.html

				├── products

				│   └── index.html

				├── services

				│   └── index.html

				├── favicon.ico

				├── index.html

				└── 404.html
Meta Tags
Meta tags are snippets of code that describe a page's content. The are essentially content descriptors that help tell search engines what a web page is about and how they should display it in search results. Meta tags can be found at the top of each template page.
Three Main Meta Tags
- Title - an accurate and concise description of the page's content
- Meta Description - brief summary the page's content
- Meta Keywords - words that describe the content of the web page shortly and concisely, written in lower case and separated with a comma
		    <title>Title Goes Here</title>

		    <meta name="description" content="Description goes here, here, and here.">

		    <meta name="keywords" content="fitness, personal training, health, etc">
Currently it's using default names such as 'Products', 'Services', 'About', etc, but you can customize it further by adding your business name like 'Products - Ava Fitness'.
For more info on meta tags, check out this resource.
Social Media Meta Tags
Social media meta tags such as Facebook's Open Graph and Twitter are code snippets that control how URLs are displayed when shared on social media such as Facebook and Twitter.
				<!-- Twitter Card data -->

				<meta name="twitter:card" content="summary">

				<meta name="twitter:title" content="">

				<meta name="twitter:description" content="">

				<meta name="twitter:image:src" content="">


				<!-- Open Graph data -->

				<meta property="og:title" content="" />

				<meta property="og:type" content="website" />

				<meta property="og:url" content="" />

				<meta property="og:image" content="" />

				<meta property="og:site_name" content="" />
For more info on social media meta tags, check out this resource.
Google Analytics
Google Analytics tells you how many people are visiting your site, where they're coming from, and what they look at while they're on your site.
Google Analytics Setup
- Go to Google Analytics
- Follow the steps to create an account for your new site
- After your account is created, you'll be taken to your Google Analytics tracking code
- Copy/paste the tracking code into all of Ava's template pages
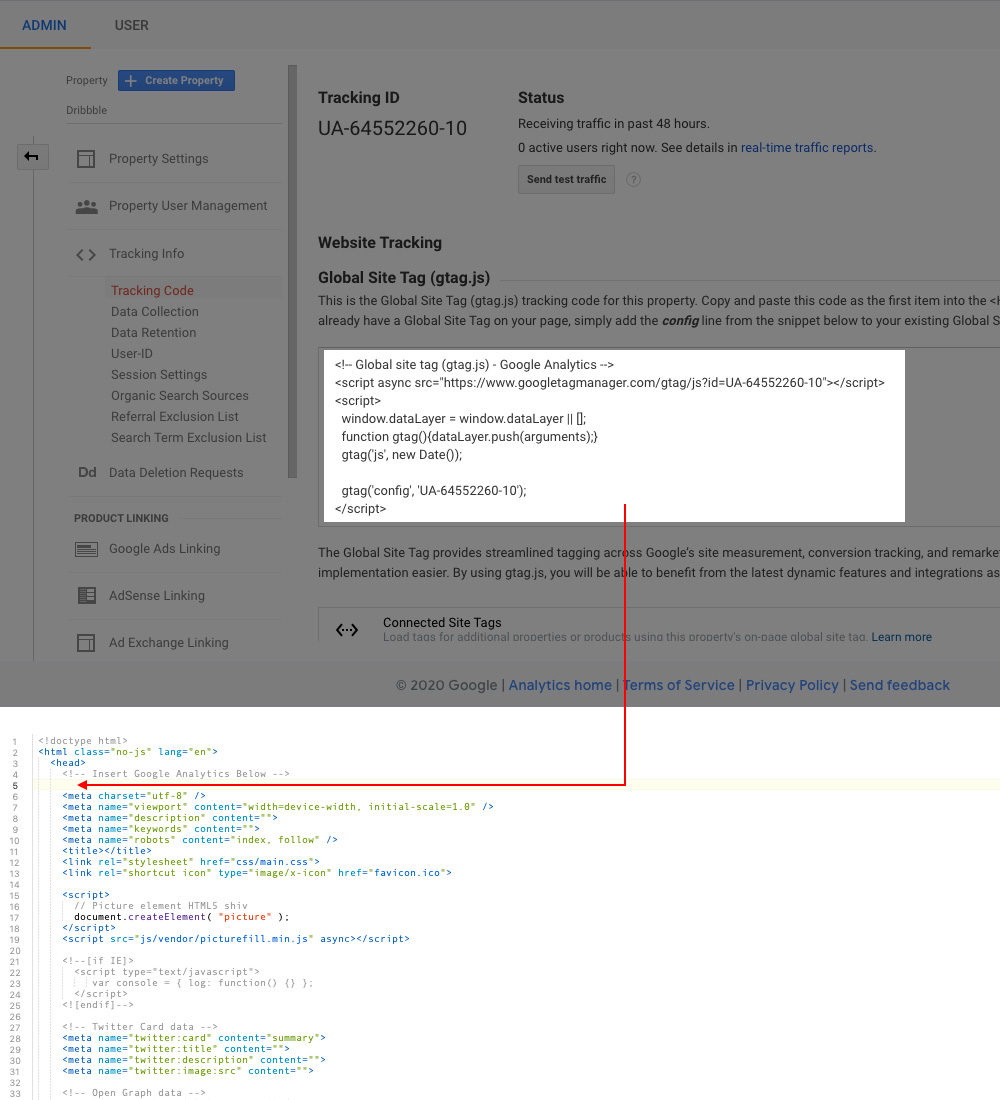
Need more help? Check out Google.
Content
Ava comes with dummy text. Simply replace the dummy text on the template pages with your own words. As long as you just replace the dummy text and leave the rest of the html code alone, then you'll be good as gold.
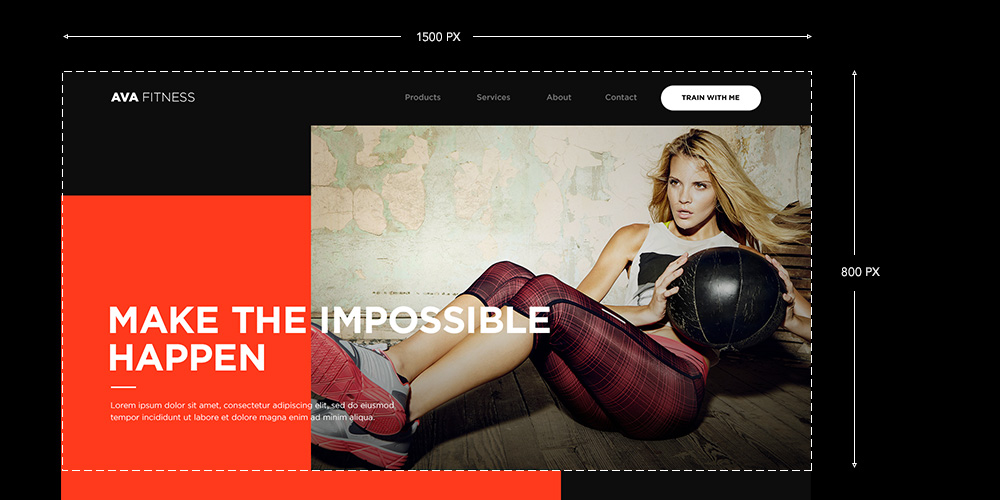
Images
You'll need to replace the Ava images with your own images. The following will outline the images you'll need to replace and the recommended image dimensions for them.
Simply create your new image and keep the image filenames the same and you're all set. If you decide to use new names, then don't forget to change the filenames in the html code too.
Image Templates
- Download hero template for each section
- Download nutrition template
- Download contact & 404 template
- Download instafeed template
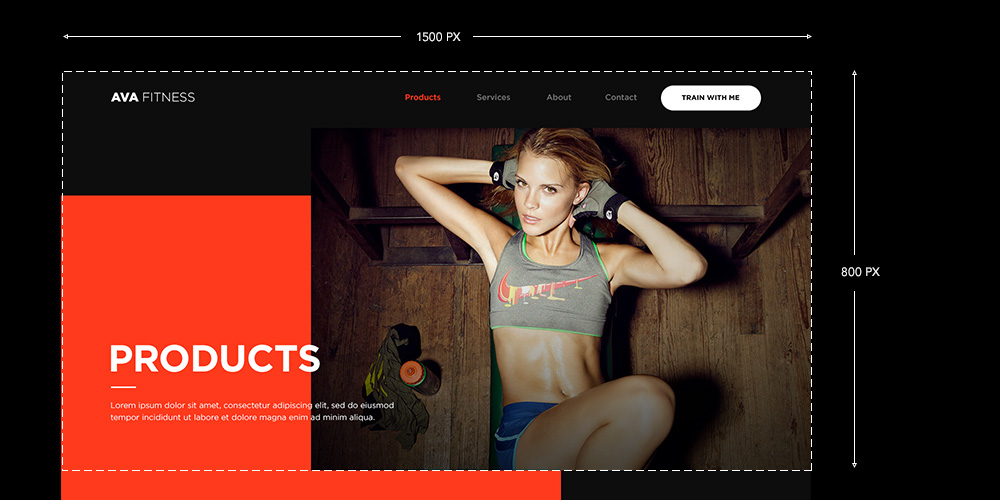
Home Page
				├── img

				│   └── home.jpg
├── img
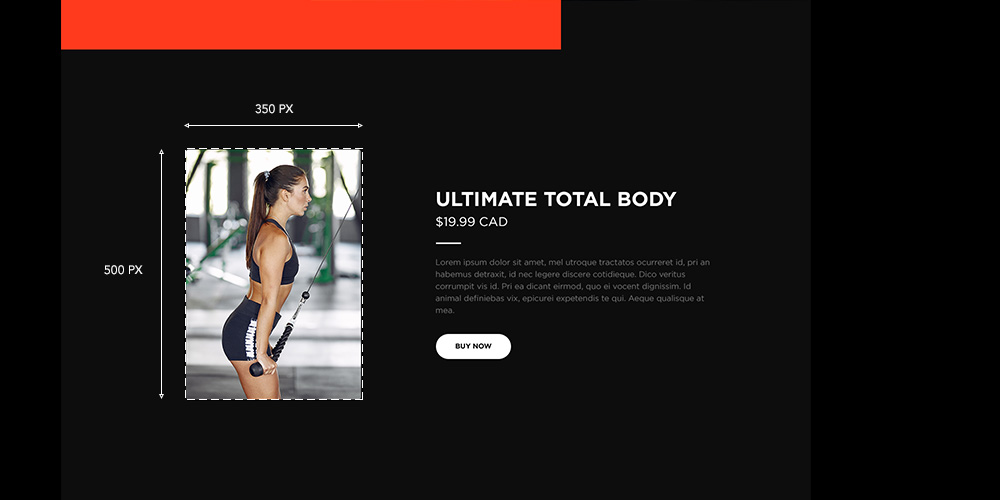
│ ├── products-training-programs-1.jpg
│ ├── products-training-programs-2.jpg
│ └── products-training-programs-3.jpg
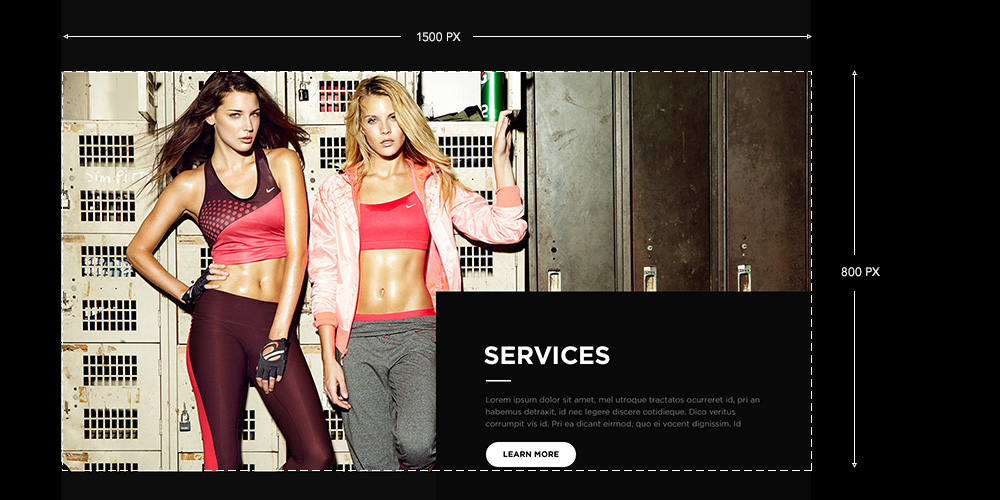
				├── img

				│   └── home-services.jpg
				├── img

				│   └── home-about.jpg
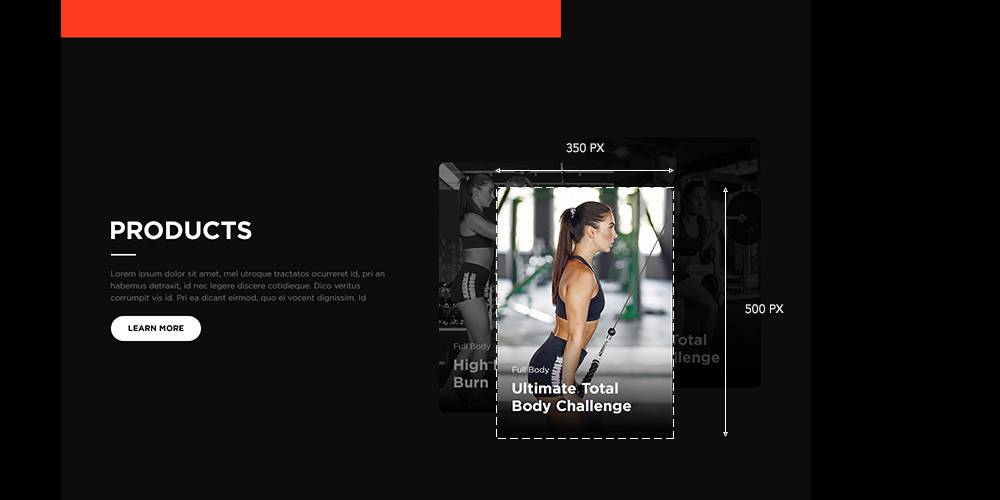
Products Page
				├── img

				│   └── products.jpg
				├── img

				│   ├── products-training-programs-1.jpg

				│   ├── products-training-programs-2.jpg

				│   └── products-training-programs-3.jpg
Services Page
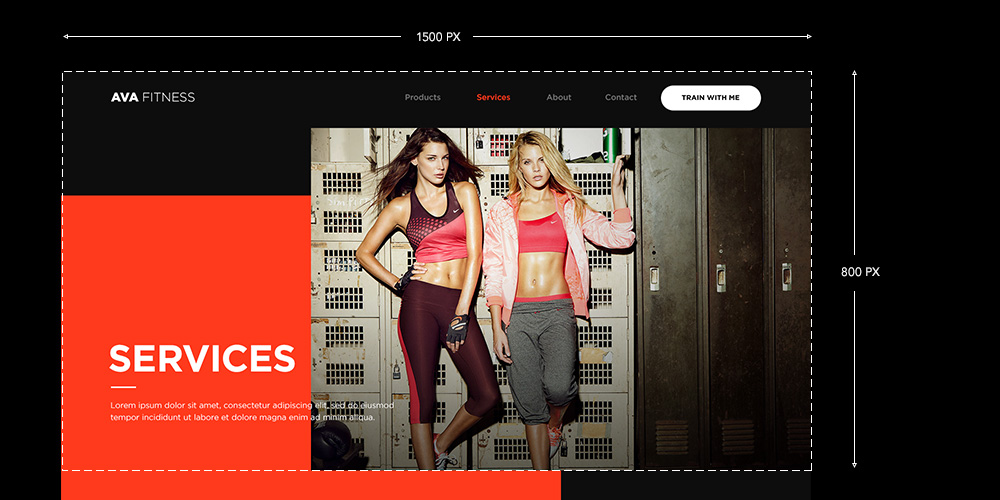
				├── img

				│   └── services.jpg
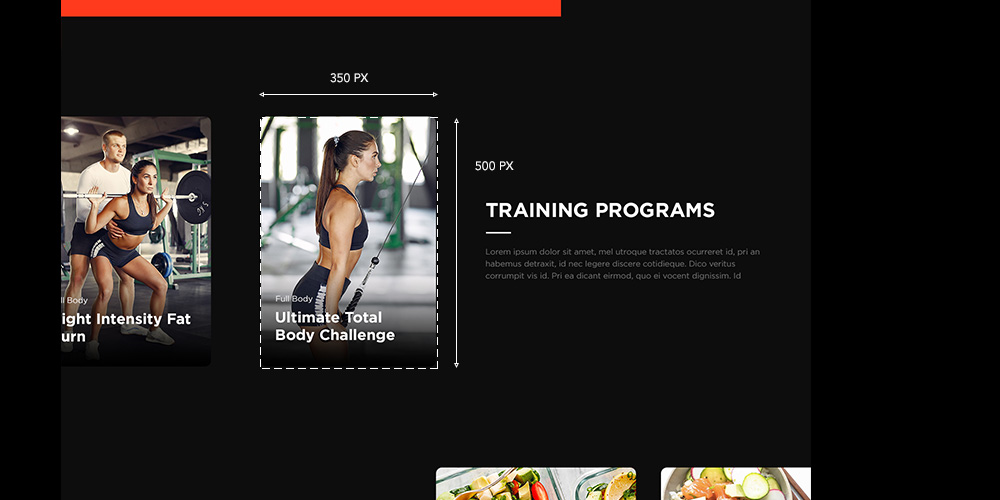
				├── img

				│   ├── services-training-programs-1.jpg

				│   ├── services-training-programs-2.jpg

				│   └── services-training-programs-3.jpg
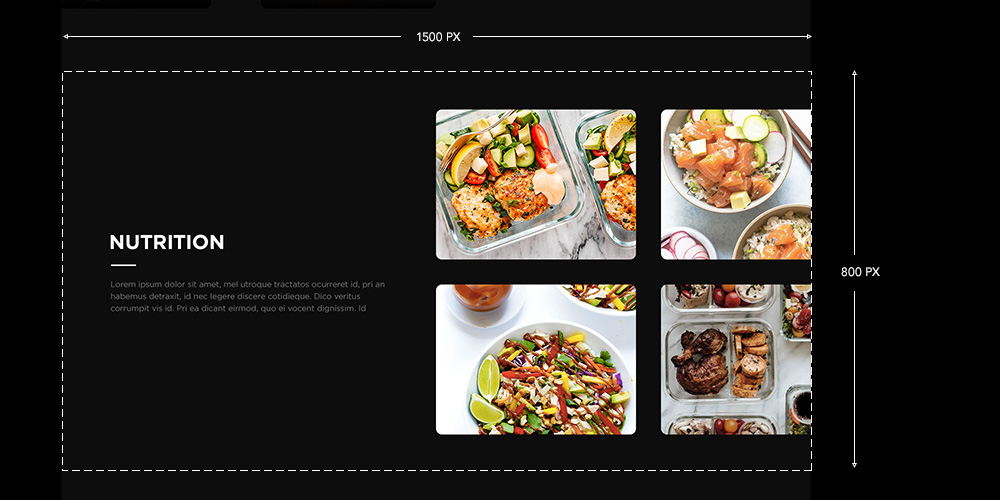
				├── img

				│   └── services-nutrition.jpg

				├── img

				│   ├── services-testimonial-1.jpg

				│   ├── services-testimonial-2.jpg

				│   └── services-testimonial-3.jpg
Ava comes with three sample testimonials. You can add or remove testimonials, but three or more testimonials are recommended to help the gallery look visual striking. You can use the recommended image dimension size of 635px by 400px or your very own size. Just make sure you change the width="625" and height="400" attributes to match.
				<!-- Carousel / START -->

				<div class="glide">

				  <div class="glide__track" data-glide-el="track">

				    <ul class="glide__slides">

				      <li class="glide__slide"><img class="product" src="/../img/services-testimonial-0.jpg" alt="" width="625" height="400"></li>

				      <li class="glide__slide"><img class="product" src="/../img/services-testimonial-1.jpg" alt="" width="625" height="400"></li>

				      <li class="glide__slide"><img class="product" src="/../img/services-testimonial-2.jpg" alt="" width="625" height="400"></li>

				    </ul>

				  </div>

				  <div class="glide__arrows" data-glide-el="controls">

				    <button class="glide__arrow glide__arrow--left fadetoblack" data-glide-dir="<">prev</button>

				    <button class="glide__arrow glide__arrow--right" data-glide-dir=">">next</button>

				  </div>

				  <div class="glide__bullets" data-glide-el="controls[nav]">

				    <button class="glide__bullet" data-glide-dir="=0"></button>

				    <button class="glide__bullet" data-glide-dir="=1"></button>

				    <button class="glide__bullet" data-glide-dir="=2"></button>

				  </div>

				</div>

				<!-- Carousel / END -->
Find the carousel code and add or remove the following lines,
			  // The image

		    <li class="glide__slide"><img class="product" src="/../img/services-testimonial-0.jpg" alt="" width="625" height="400"></li>


		    // Navigation bullet (represents an image in the gallery)

		    <button class="glide__bullet" data-glide-dir="=0"></button>
Let's say for example, you have 6 images in the gallery. Then the code will look like the below. The first image starts with the value of 0 and then increases by 1.
		  	<li class="glide__slide"><img class="product" src="/../img/services-testimonial-0.jpg" alt="" width="625" height="400"></li>

		  	<li class="glide__slide"><img class="product" src="/../img/services-testimonial-1.jpg" alt="" width="625" height="400"></li>

		  	<li class="glide__slide"><img class="product" src="/../img/services-testimonial-2.jpg" alt="" width="625" height="400"></li>

		  	<li class="glide__slide"><img class="product" src="/../img/services-testimonial-3.jpg" alt="" width="625" height="400"></li>

		  	<li class="glide__slide"><img class="product" src="/../img/services-testimonial-4.jpg" alt="" width="625" height="400"></li>

		    <li class="glide__slide"><img class="product" src="/../img/services-testimonial-5.jpg" alt="" width="625" height="400"></li>


		    <button class="glide__bullet" data-glide-dir="=0"></button>

		    <button class="glide__bullet" data-glide-dir="=1"></button>

		    <button class="glide__bullet" data-glide-dir="=2"></button>

		    <button class="glide__bullet" data-glide-dir="=3"></button>

		    <button class="glide__bullet" data-glide-dir="=4"></button>

		    <button class="glide__bullet" data-glide-dir="=5"></button>
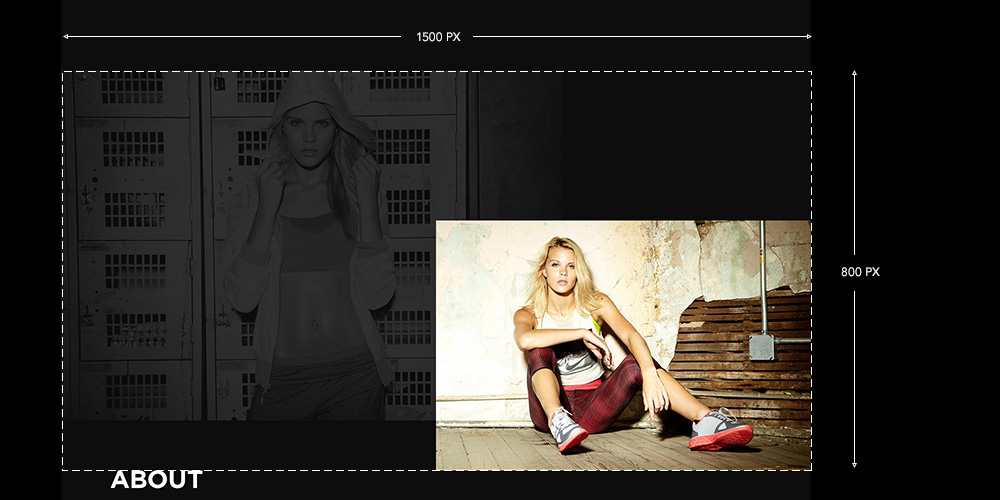
About Us Page
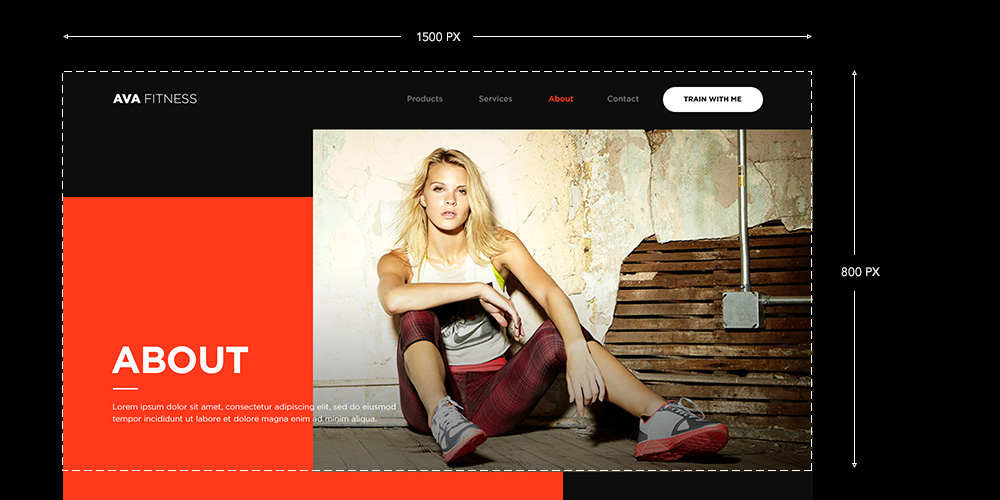
				├── img

				│   └── about.jpg

				├── img

				│   ├── about-profile-1.jpg

				│   └── about-profile-2.jpg
				├── img

				│   └── about-profile-3.jpg
Contact Us & 404 Error Page
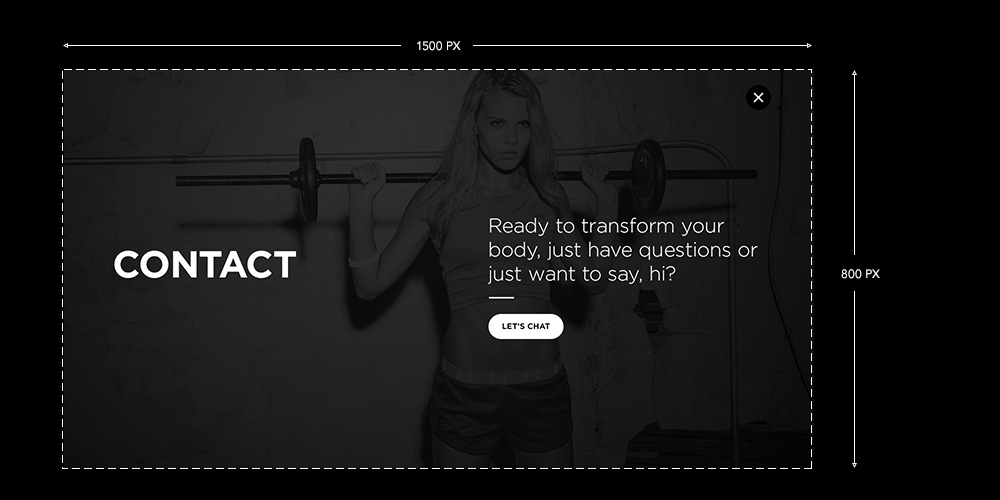
				├── img

				│   ├── contact.jpg

				│   └── 404.jpg
Instafeed
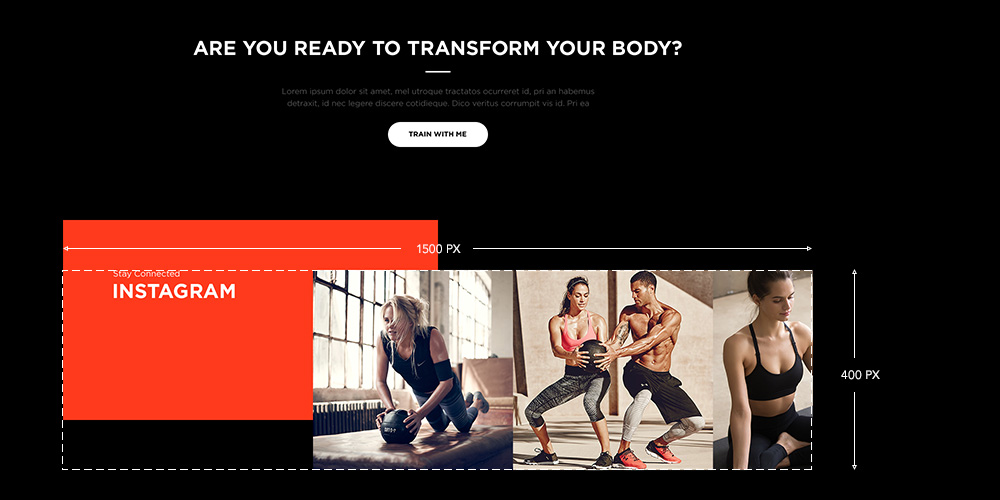
				├── img

				│   └── instafeed.jpg
Renaming Images
In case you want to use different image filenames than the ones included with Ava, then you'll need to edit the image tags that links to the images. Image tags for all images can be found on the template pages (index.html) except for a few images that are found in the main.css file. These images are the hero images for the home, products, services, about us, contact us pages.
Open the main.css file and find,
		  	/* ----- HERO IMGAGES -----*/

				#home {
				background-image: url(../img/home.jpg);

				}


				#products {
				background-image: url(../img/products.jpg);

				}


				#services {
				background-image: url(../img/services.jpg);

				}


				#about {
				background-image: url(../img/about.jpg);

				}


				.overlay.contact {
				background-image: url(../img/contact.jpg);

				}
Links
There are a few spots you'll need to change links.
- Contact Information
- Instagram Account
- Call To Action Buttons
Contact Information
Find the mailto: link and replace hello@avafitness.com with your own email address. You can also change 'LET'S CHAT' and 'Contact' if you want to use your own phrase. There are three places where the contact information is found on the template page. Don't forget to add your contact info to all three places.
				<a href="mailto:hello@avafitness.com?subject=Say%20Hello"><button class="button">LET'S CHAT</button></a>

				<a class="text-link mobile" href="mailto:hello@avafitness.com?subject=Say%20Hello">Contact</a>
Instagram Account
Next, add your Instagram account. Search for https://www.instagram.com/ and replace it with your own Instagram URL. Just a reminder, there are two places where this needs to be changed.
Call To Action Buttons

Find all instances of the button attribute and change the call to action label.
				<button class="button">LEARN MORE</button>

				<button class="button">READ MORE</button>

				<button class="button">LET'S CHAT</button>

				<button class="button">BUY NOW</button>

				<button class="button">TRAIN WITH ME</button>

				<input type="submit" value="SIGN UP" name="subscribe" id="mc-embedded-subscribe" class="submit">
Latest News
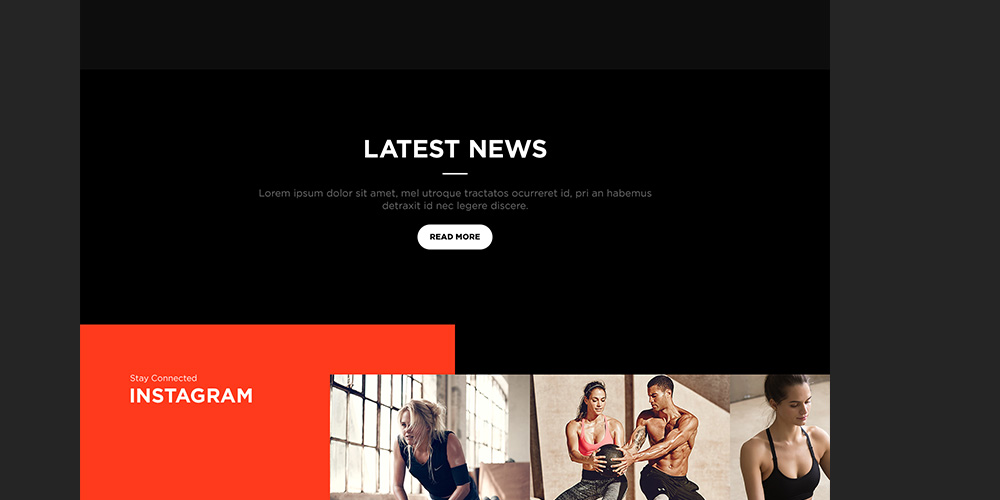
Keep it or not. The latest news module on the home page is meant to highlight and call to attention any special news and announcements.
If you don't plan on using the latest news module, then simple remove it from the home page. Find the appropriate lines of code below and remove it.
				<!-- Latest News / START -->

					<div class="news-container">

						<div class="news-container--inner">

							<h2 class="section-title">LATEST NEWS</h2>

							<hr class="divider center">

							<p>Lorem ipsum dolor sit amet, consectetur adipiscing elit, sed do eiusmod tempor incididunt ut labore et dolore magna aliqua. Ut enim ad minim veniam, quis nostrud exercitation ullamco laboris nisi ut aliquip ex ea commodo consequat.</p>

							<a href="/news/"><button class="button">READ MORE</button></a>

						</div>

					</div>

				<!-- Latest News / END -->
If you plan on using the latest news module, then you can link it to an external source or internally within the site. If you choose to link it internally, then a pre-built article page has been created just for this.
If using an external URL, then enter the URL in the area below.
<a href="Insert external URL here"><button class="button">READ MORE</button></a>
Keep in mind that there is no dedicated news section and the single article page is the only output for news. You will need to regularly updated this single article page if you decide to regularly write news and blog articles.
Basic article page structure is as follows. Simply change the article title, image, and write your body copy and you're all set.
		  	<!-- Article Page / START -->

				<div class="grid-x section-container">
				  <div class="cell">


						<!-- Article Title / START -->

						<h1 class="section-title air">Lorem ipsum dolor sit amet, consectetur adipiscing elit, sed do eiusmod tempor incididunt ut labore et dolore magna aliqua.</h1>

						<!-- Article Title / END -->


						<!-- Article Image / START -->

						<img class="article-img" src="../img/news.jpg">

						<!-- Article Image / END -->


						<!-- Article Body / START -->

						<p>.....Your article copy goes here.....</p>

						<p>.....Place your copy betweeen the <p> and </p> tags.....</p>

						<p>..........</p>

						<!-- Article Body / END -->


				  </div>

				</div>

		  	<!-- Article Page / END -->
Digital Products
Selling digital and downloadable products such as e-books for training, workout, and meal plans could not be easier. There are several platforms that allow you to do this. Some of my favorites are,
If that's not enough, check out this list of more digital selling platforms.
404 Error Page
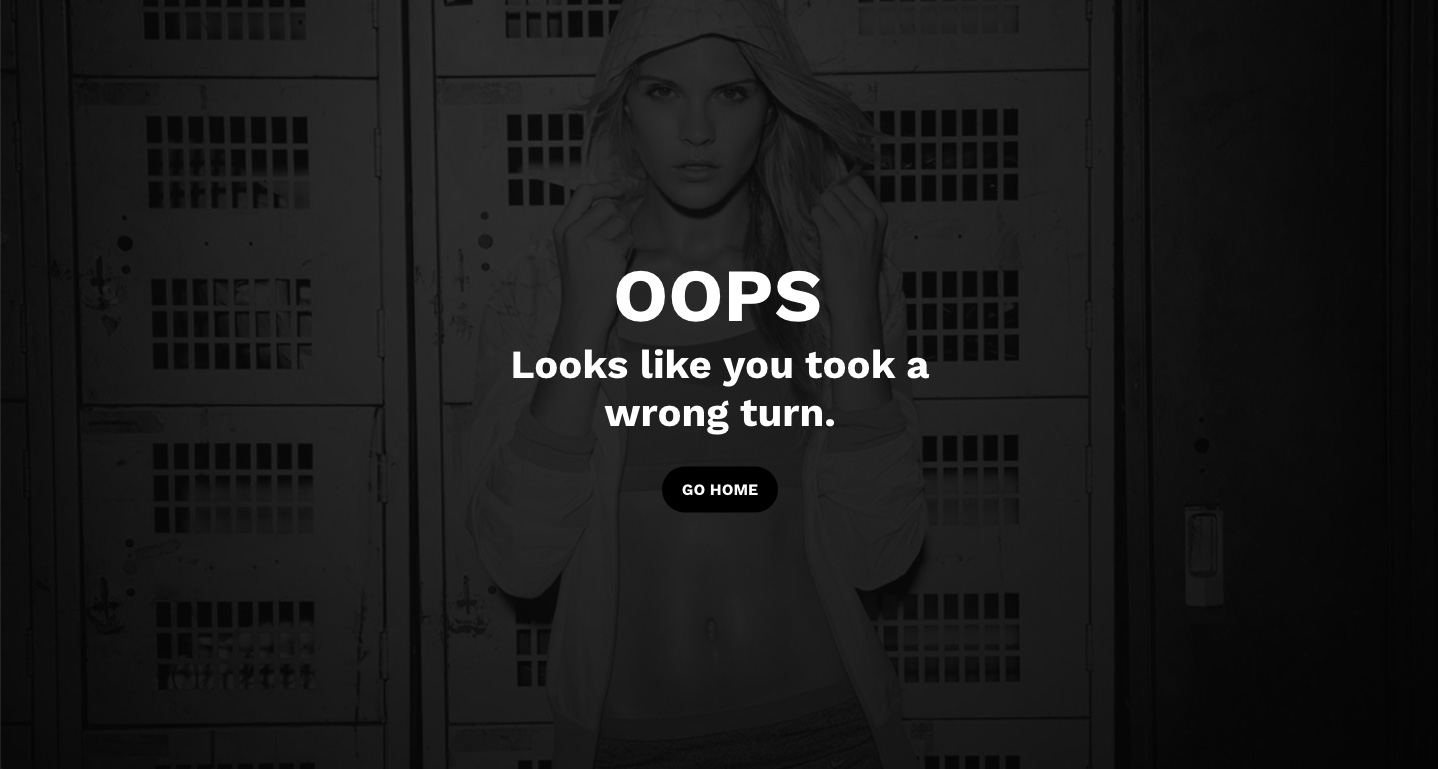
A 404 error page is a page that informs visitors that the requested page does not exist or couldn't be found.
Configuring/Uploading 404 Error Page
For the error page to function, you'll need to make sure the .htaccess file has been uploaded onto the web server.
The .htaccess file is included with Ava. It is usually hidden or invisible and may have been missed when the template files were uploaded onto your web server.
In order to view the file, you'll need to click on the view hidden files or similar button on your web editor or FTP client.
Free FTP Clients
Editing 404 Error Page
You can customize the 404 page by editing the text. Just open up the 404.html file.
				<!-- Error Content / START -->

					<h1 class="section-title">OOPS</h1>

					<h2 class="section-title">Looks like you took a wrong turn.</h2>

					<hr class="divider center">

					<a href="/"><button class="button">GO HOME</button></a>

				<!-- Error Content / END -->
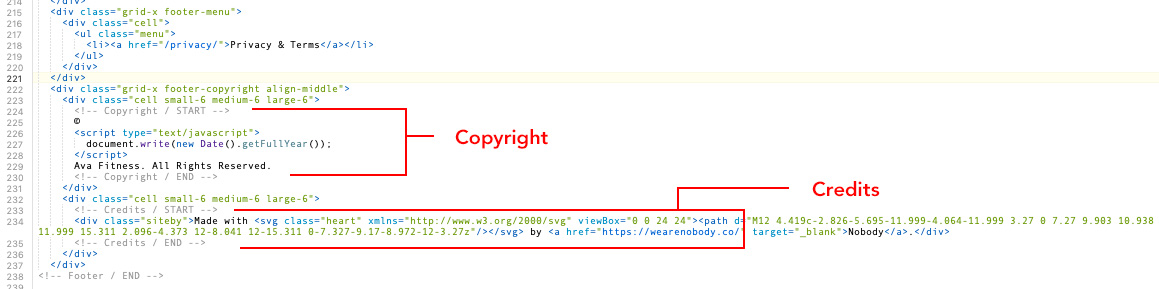
Copyright & Credits
Don't forget to change the copyright info to your business name. Also, you can leave the site credit as is or completely remove it. Both copyright and credits are located near the bottom of the page.